Configuration
Since the Blue Team Pad is a fully programmable macro pad built on VIAL, you can configure it to your liking. This guide will go through the basics of configuring the device using VIAL.
Besides this guide, you can also check out the VIAL Documentation for more information.
Since vial is built on top of QMK it also supports many QMK features. The full QMK documentation is available for reference HERE.
Setting up Vial
In order to configure the device we have two options, VIAL Web & the VIAL App.
VIAL web is very useful if you are in a situation where installing programs on your computer is not possible, such as corporate devices as everything is done through a web browser.
However, the VIAL app does have a few more features such as the ability to export your keymap to a file.
Also as of 3/28/23 There is also a bug where copy paste does not work within the macro editor in VIAL web. This is not an issue in the VIAL app.
VIAL Web
To configure the device using VIAL web, just click the button below:
In order to use this method, you must be using a browser that supports WEB HID. As of writing, only Chrome, Opera & Edge support this protocol. You can check up to date browser support Here.
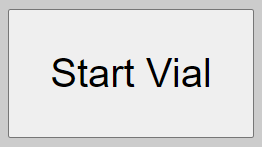
Once on the site click the Start Vial button as shown below:
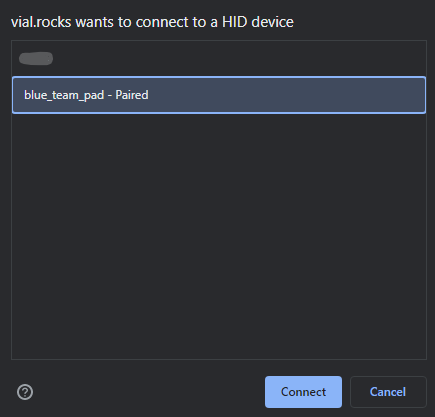
This will prompt you to authorize a device to be used.
Click the entry for blue_team_pad and then click connect:
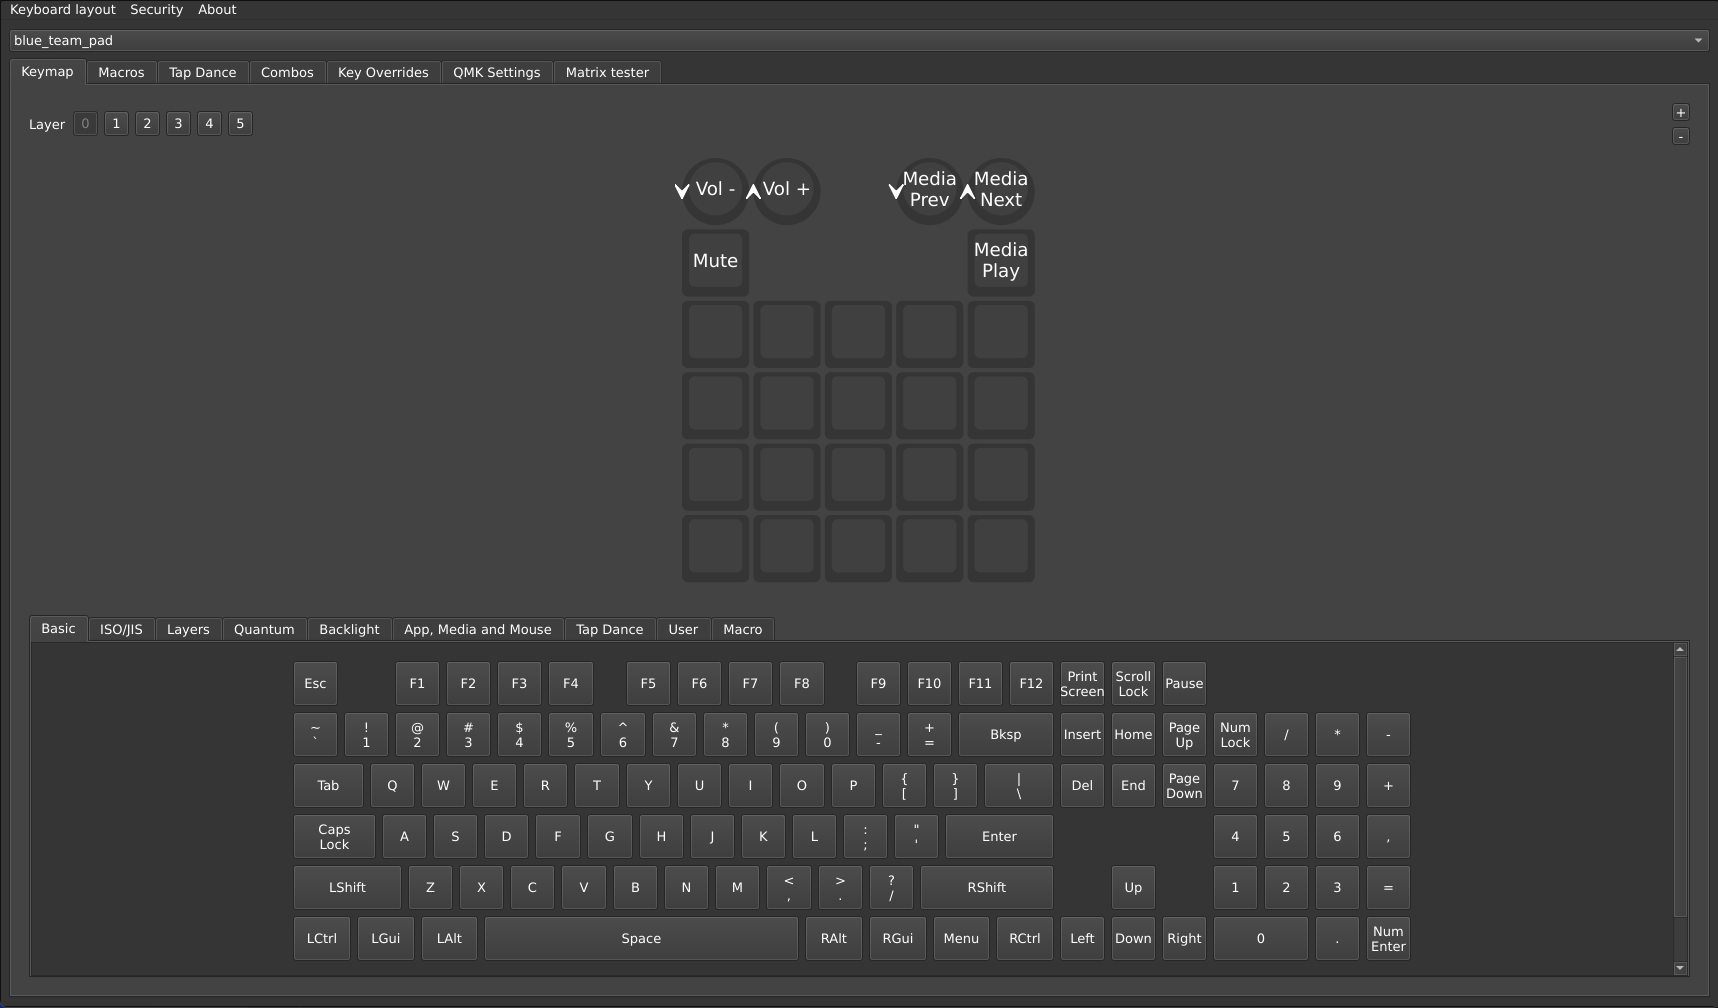
After a few seconds your device will then connect and be ready for configuration!
VIAL App
First download and install the VIAL app for your operating system:
Linux Users May need to create a custom udev rule in order for the device to show up within the VIAL App. You can read how to do this within the VIAL documentation HERE
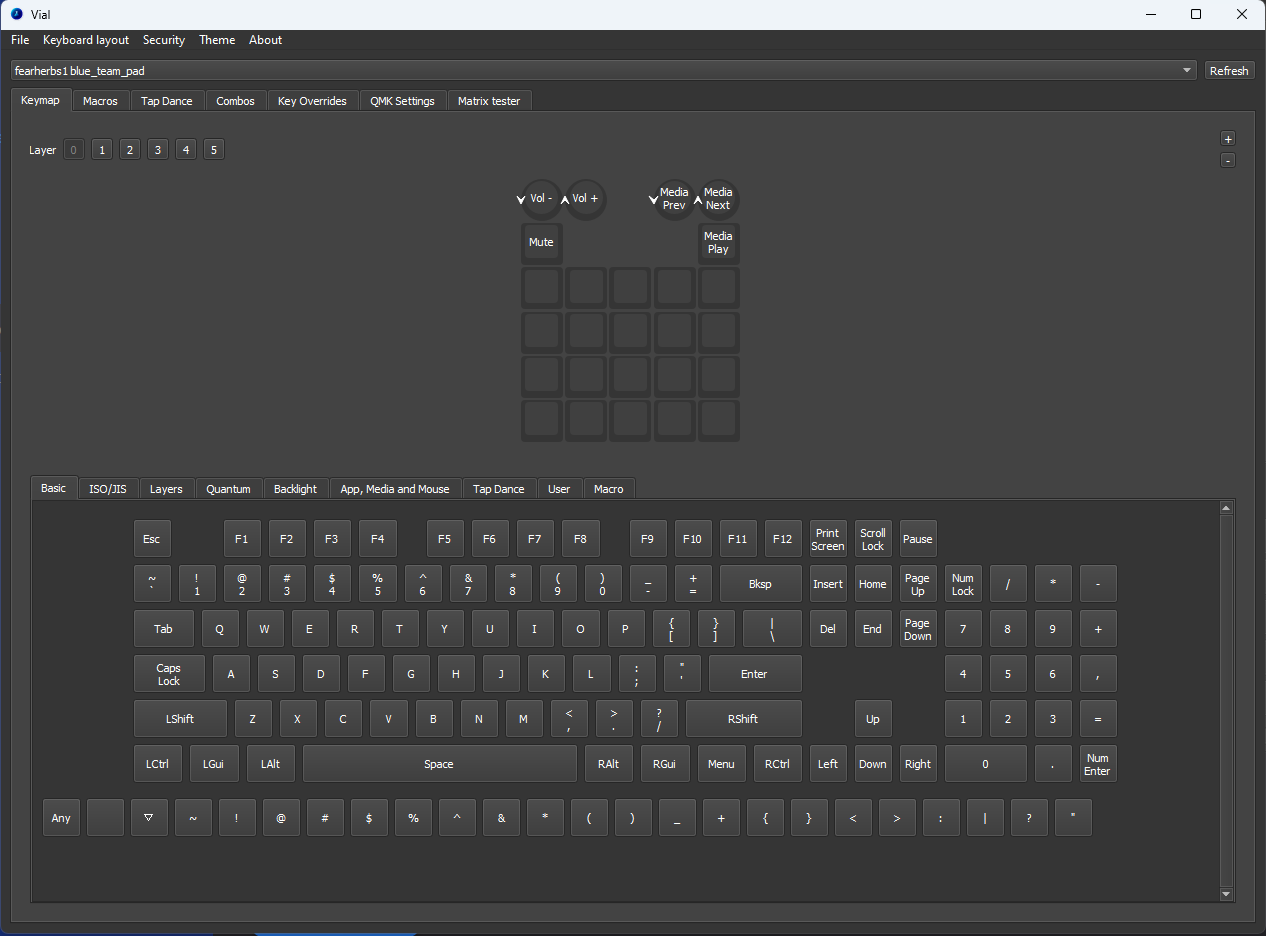
Then launch the app, your device should show up within the menu at the top and be ready to configure!
Basic Key Mapping
To remap a key, simply click on the key you want to remap and then click the key you want to remap it to.
There is no need to “save” your keymap, it is automatically saved when you change a key.
In the example below I have remapped the uppermost left key to the A key:

Encoder Key Mapping
The Blue Team Pad has two encoders available for use. These encoders can be used to map keys to the encoder rotation, as well as encoder press. To do this, click the corresponding encoder direction or press button and then click the key you want to map it to.
To map the encoder press, click the “key” directly under the directional encoder controls.
In the example below I have mapped the counter clockwise encoder rotation to the KC_VOLU keycode and clockwise rotation to the KC_VOLD keycode. Then the encoder press to the KC_MUTE key:
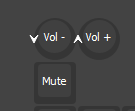
This will allow me to control the volume of my computer by rotating the encoder and mute it by pressing the encoder.
The “KC_Trans” Key
You may notice that some keys look like a little triangle pointing down.

This is the KC_Trans key and it is used to “transparently” pass the keypress to the next layer below it.
For example, if I set the bottom left key on layer 0 to KC_A and the bottom left key on layer 1 to KC_Trans and then switch to layer 1, pressing the bottom left key will result in the KC_A key being pressed.
The “Any” Key
The Any key is a special key that can be used to remap a key to any other QMK keycode, even if it does not exist in the VIAL UI. This is useful if you want to use a key that is not directly supported in the VIAL UI.
To use the Any key, simply click on the key you want to remap and then click the Any key. This will open a text box where you can enter the QMK keycode you want to remap the key to.
An example of this is shown below where I use the any key to assign the KC_LCAP keycode to the uppermost left key:

A full list of QMK keycodes can be found HERE.
Saving A Layout
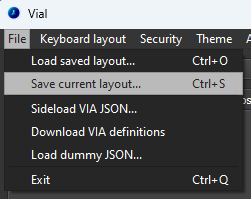
If you would like to save your layout for later use, you can do so by clicking file and then Save Current Layout button at the top of the application.
This will save the layout to a .vil file on your computer that you can then load later.
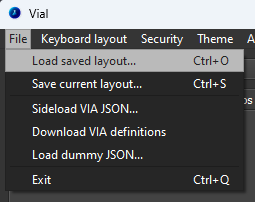
To Load a layout, click file and then Load Saved Layout and select the layout file you want to load.
Layers
The Blue Team Pad supports multiple layers. The current layer is displayed on the OLED screen on the front of the device.
Layers allow the binding of multiple actions to the same physical key depending on the current layer. This allows for the creation of complex keymaps without the need for a large number of keys.
The Blue Team Pad comes with 6 layers by default, but you can add as many as you want if you edit the source code and recompile the firmware. The specific value you would need to change is DYNAMIC_KEYMAP_LAYER_COUNT in the config.h file. That file can be found HERE.
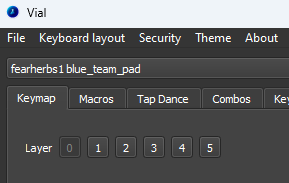
To edit the keymap for each layer click the corresponding layer number in the top left corner of the VIAL App.
Switching between layers can be done by a multitude of ways.
The available keycodes for switching layers can be seen in the layer tab of the VIAL App:

There are extremely powerful and allow for the creation of very complex keymaps. As for the two most basic:
MO(Layer Number)- Momentary Layer Switch. This will switch to the specified layer while the key is pressed and then switch back to the previous layer when the key is released.TO(Layer Number)- Switch to Layer. This will switch to the specified layer and stay there until another layer switch key is pressed.
When using momentary layer activation such with MO(Layer Number) KC_TRNS must be set to that key on the layer you are momentary switching to. More information on this can be found in the QMK documentation HERE.
More information on layers including explanations of advanced layer switching can be found in the QMK documentation HERE.
For example, Lets say I want the bottom left and right keys to cycle me through all of my layers. To do so I would set the bottom left most key on each layer to TO(Next Lowest Layer) and the bottom right most key on each layer to TO(Next Highest Layer). If we want to be able to cycle through every layer with one key, we would need to set the bottom right key on the highest layer to TO(Lowest Layer). and the bottom left key on the lowest layer to TO(Highest Layer).
For Example:
Layer 0:
Bottom Left Key: TO(5)
Bottom Right Key: TO(1)

Layer 1:
Bottom Left Key: TO(0)
Bottom Right Key: TO(2)

Layer 2:
Bottom Left Key: TO(1)
Bottom Right Key: TO(3)

Layer 3:
Bottom Left Key: TO(2)
Bottom Right Key: TO(4)

Layer 4:
Bottom Left Key: TO(3)
Bottom Right Key: TO(5)

Layer 5:
Bottom Left Key: TO(4)
Bottom Right Key: TO(0)
This will then result in the following layer switching behavior:
An Example .vil file can be downloaded HERE
This same principle can also be used to bind layer switching to the twisting of one of the encoders, allowing the ability to cycle through all layers with the twist of an encoder.
Macros
Macros are the bread and butter of the Blue Team Pad. In essence they allow you to bind multiple sequenced keypresses to a single key.
Unlike most other QMK/VIAL/VIA powered keyboards, the Blue Team Pad has enough memory onboard to use the maximum amount of 64kb of memory for macros. This is the current maximum amount of memory that is supported by the QMK EEPROM storage subsystem. You can learn more about the EEPROM storage subsystem HERE
To create a macro, click the Macro tab in the VIAL App and select a macro slot to edit.
From here, you can either add actions one by one using the Add action button, import & export macros from json format using the Open Text Editor button, or record a macro using the Record Macro button.
You can also see your storage usage at the bottom left of the macro tab.
Creating A Basic Macro
The available options when creating macros are:
Delay (ms)- Wait for a specified amount of time in milliseconds. This is useful for macros that need to wait for a window to open or for a key to be pressed before the next action can be performed.text- Type out a specified string of text.tap- Tap a specified key.down- Press and hold a specified key(s).up- Release a specified key(s).
You can also reorder the actions in a macro by using the up and down arrows next to each action.
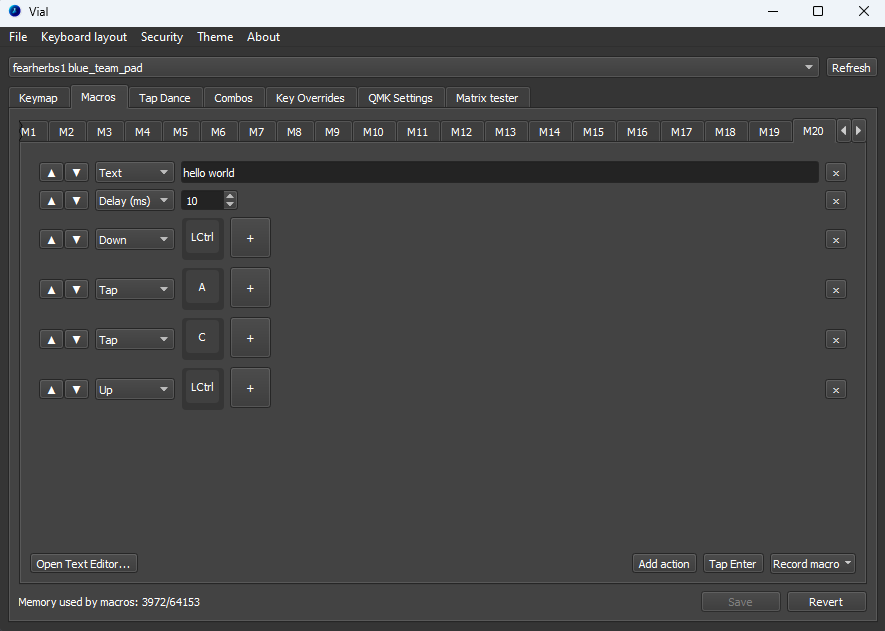
In the image below, I have created a within slot 20 macro that will:
- Type out the word
Hello World - Wait 10ms
- Press and hold the
Left Ctrlkey - Tap the
Akey to select all - Tap the
Ckey to copy - And then release the
Left Ctrlkey
We can then click the Save button to save the macro.
If this is the first time saving a macro since plugging in the device, you will be prompted to unlock the macro pad. This is to prevent malicious programs from adding macros to the device without your knowledge.
To unlock the macro pad, hold the bottom left and right keys until the progress bar on screen fills up:

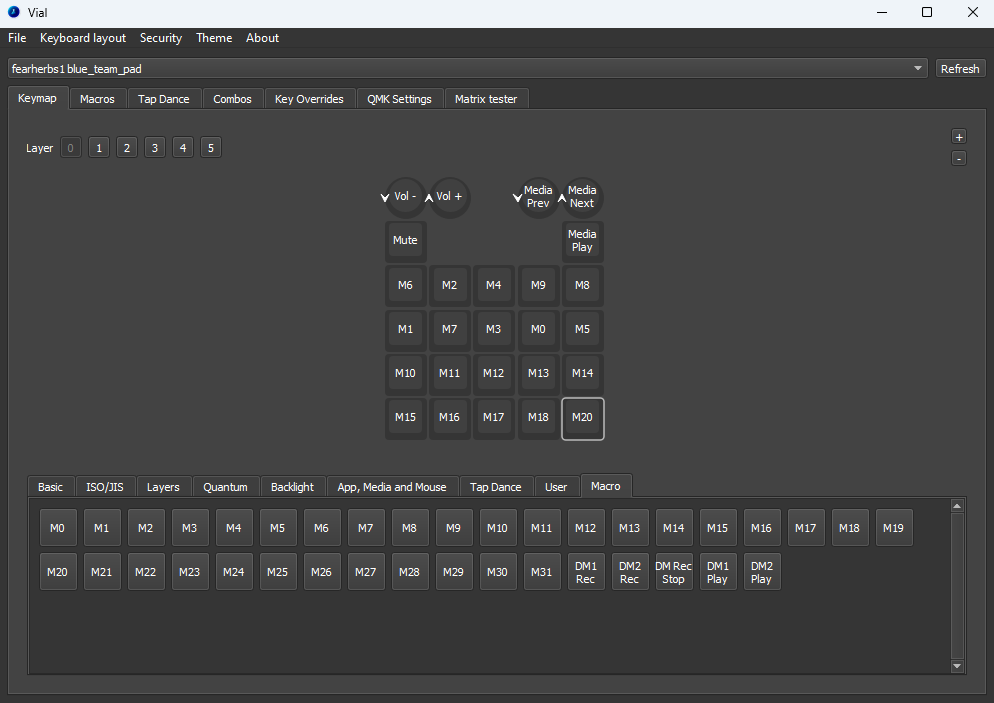
We can then assign the macro to a key for use in the Keymap tab.
Importing & Exporting Macros
To import or export macros, click the Open Text Editor button in the macro tab.
This will open a text editor where you can export the current macro or load a new one in json format.
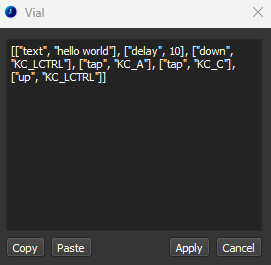
For example here is the macro I created above in json format:
[["text", "hello world"], ["delay", 10], ["down", "KC_LCTRL"], ["tap", "KC_A"], ["tap", "KC_C"], ["up", "KC_LCTRL"]]
The sample macros that I have created that can be found HERE